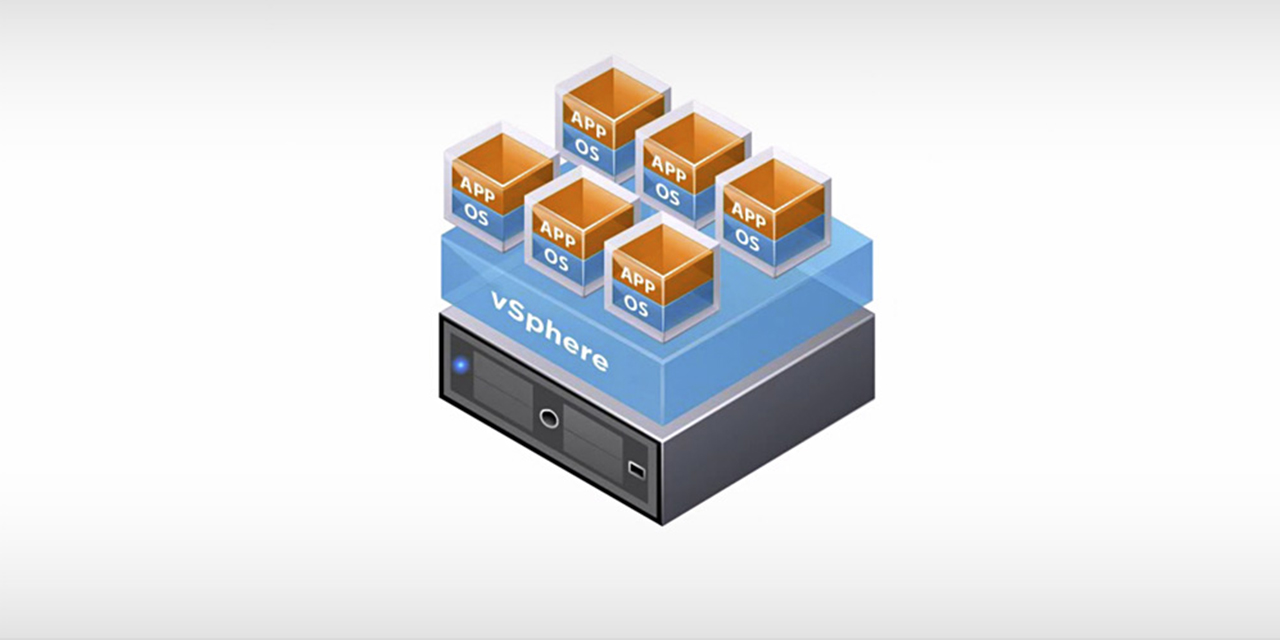

Here’s a basic guide to install ESXi (VMware vSphere Hypervisor):
Step 1: Prepare Your Hardware
- Verify Hardware Compatibility: Make sure your server hardware is on VMware’s Hardware Compatibility List.
- Gather Necessary Resources: Obtain the ESXi installer ISO from the VMware website.
Step 2: Create Bootable Media
- Create a Bootable USB/CD: Using a tool like Rufus or Etcher, create a bootable USB or CD with the ESXi ISO.
Step 3: Install ESXi
- Backup Data: Ensure that any vital data on the server is backed up.
- Boot to the Installer: Restart your server and boot from the bootable media created in step 2.
- Start the Installation: After booting, the ESXi installer will start automatically.
- Accept the EULA: Read and accept the End User License Agreement.
- Select a Disk for Installation: Choose the hard disk where ESXi will be installed.
- Configure Root Password: Set up a strong root password.
- Install: Confirm your settings and start the installation process.
Step 4: Post-Installation Setup
- Remove Installation Media: After the installation completes, remove the installation media and reboot the system.
- Configure Network Settings: On reboot, configure the network settings via the Direct Console User Interface (DCUI).
- Access the ESXi Host: Using a web browser from another computer, access the ESXi host through the IP provided in the DCUI.
Step 5: Configure ESXi
- Log in to vSphere Client: Using the IP address from step 13, log in to the vSphere Client (via a web browser) with the root username and the password set during installation.
- Configure Host: Setup and configure your host as per your requirements, including networking and datastores.
Step 6: Ready to Use
- Deployment: You are now ready to create and manage virtual machines using the vSphere Client.
Note: This is a very basic guide, and your steps might vary slightly depending on your hardware and specific requirements. Always refer to the official VMware documentation for detailed instructions and best practices.
